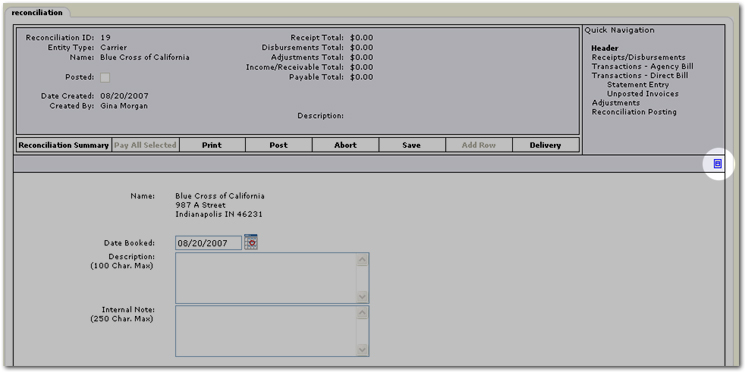
 icon next to the entity to reconcile.
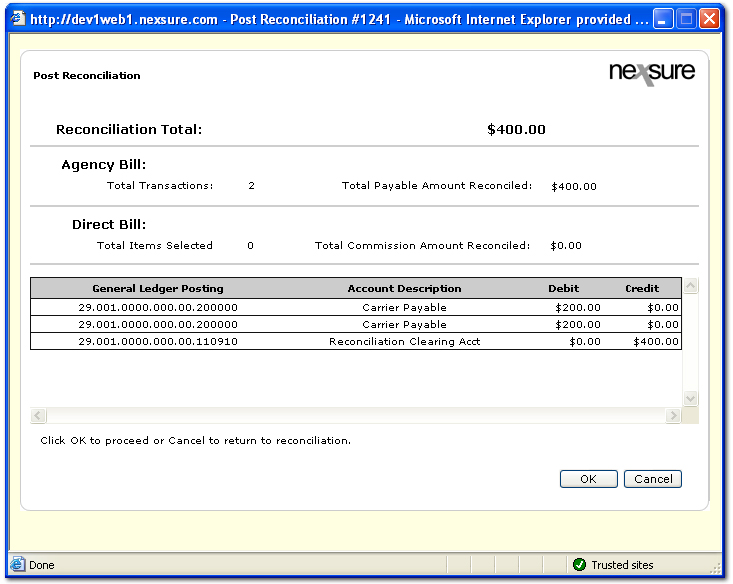
The reconciliation process is used to select posted invoices and mark them for payment to carrier (agency bill invoices), payment received from carrier (direct bill invoices), payment due to people if commission is paid on posted invoices, or payment due to a tax authority as applicable. The general ledger results depend upon posting rules and whether or not the end result is offset by disbursements, receive payments, or adjustments. If an amount remains, then the offset will be to the reconciliation clearing account. The offset would then be cleared by the applicable disbursement or receive payment.
To Perform a Reconciliation
 icon next to the entity to reconcile.
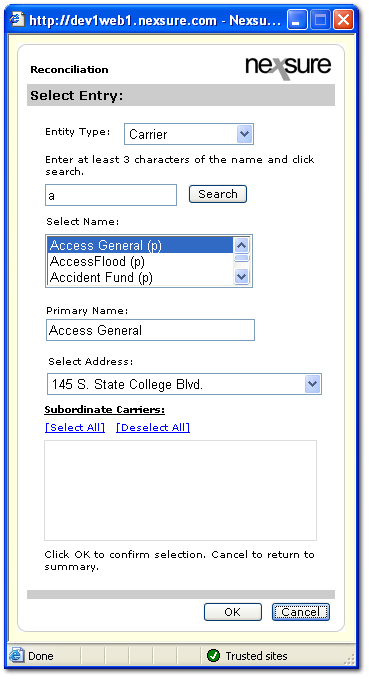
Note: Only carriers that are associated to the territory will be available in the search. For more information about carrier associations, see the Carrier Associations topic.
Note: Use the Maximize / Minimize ![]() icon to display the full screen view of the reconciliation.
icon to display the full screen view of the reconciliation.
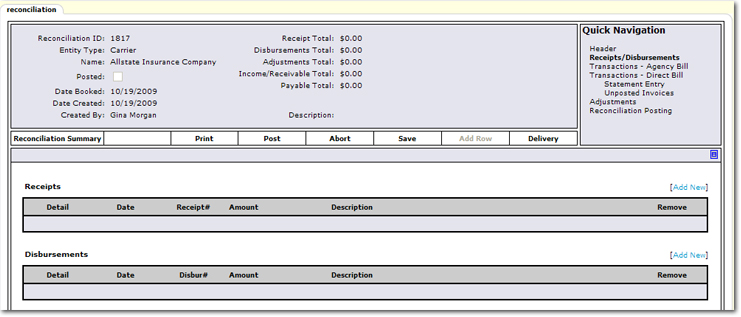
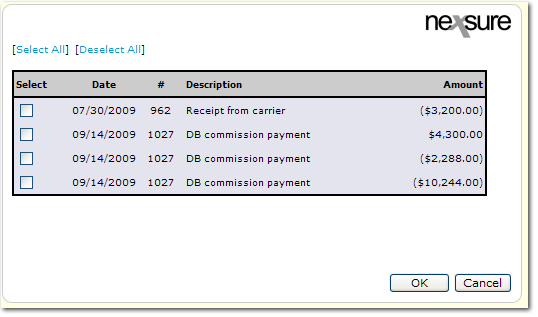
Note: When working with general ledger item under Quick Navigation > Adjustments, the 1099 check box is available. Once the reconciliation has been posted, only the 1099 check boxes are editable. If it is necessary to update a 1099 selection, make the new selection and click [Update 1099]. The system records are then updated to match the selection. Only a staff member with Accounts Payable > Modify rights can change 1099 selections. Changes to locked or closed months can only be made by a staff member with Accounts Payable > Post Locked rights can change 1099 selections in a locked or closed month. For more information on security settings see 1099 Security.
Note: Each invoice is posted showing the individual LOBs for that policy. There may be multiple invoices with the same invoice ID, these are not duplicates, but different LOBs on a package policy.
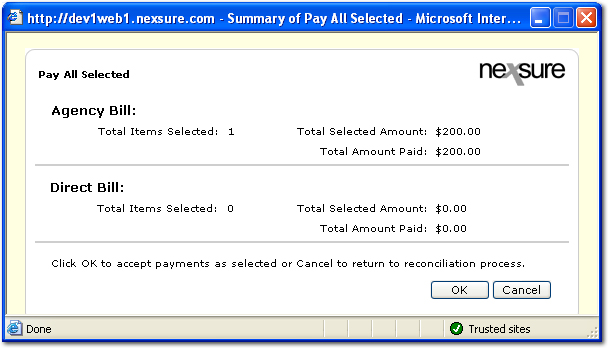
Important: The Pay All Selected option will bay all selected items on all pages.
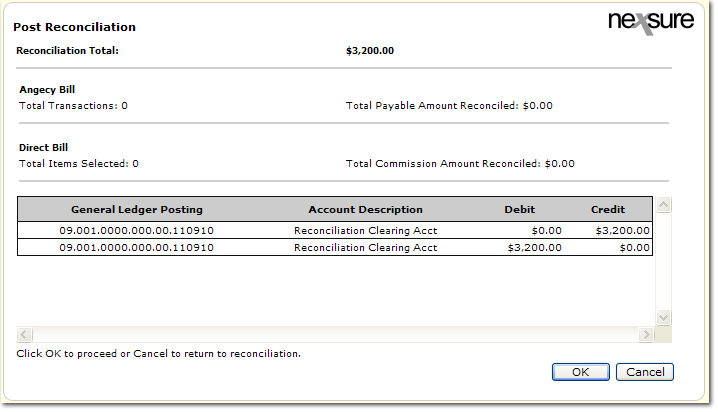
Note: When posting to locked periods, keep the following in mind. If the staff member has rights to post to a locked period a dialog box is displayed letting the staff member know they are posting to a locked period. If the staff member does not have rights to post to a locked period, the only option is to change the date booked to an unlocked period. More information on rights for staff members to post to locked periods can be found at Transactions > Reconciliation Security.
Note: The Remittance Advice can be printed prior to posting.