Coverage Templates
Coverage templates can be created to save application population
time. Templates can be created on any client account at the marketing > underwriting
level. On state-specific forms, only templates for the same state as the
target application may be used.
Quickly navigate to procedures included in this topic by clicking one of the links below:
To Create a Coverage Template
To Export a Coverage Template
To Import a Coverage Template
To Use a Coverage Template
To Create a Coverage Template
- On the Primary
menu,
click SEARCH.
- Click the Details
 icon next to the appropriate client.
- On the Client menu, click MARKETING.
- On the marketing tab, click the Details icon next to the appropriate marketing policy. The underwriting tab is displayed.
- On the navigation tab, navigate to the form to be used at a template. Add any information to the form that will be included in the template. Notice when the form is expanded, the [Template] link becomes active.
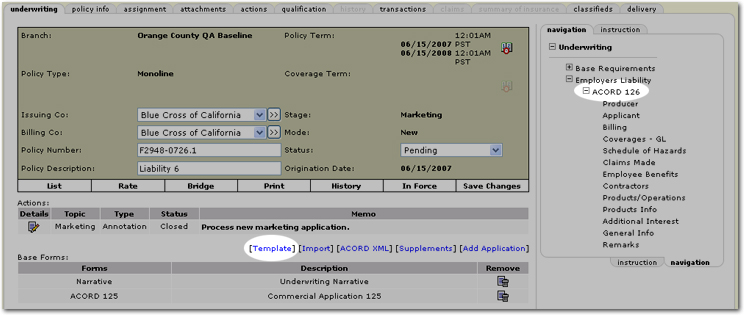
- Once active, click [Template]. The template tab is displayed.
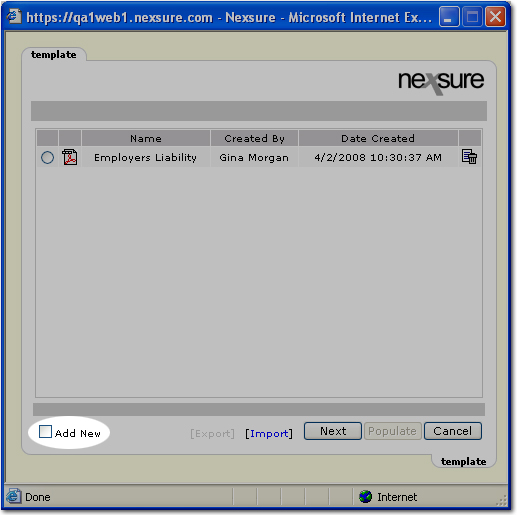
- On the template tab, select the Add New check box.
- Click Next. A dialog box is displayed for the entry of the template name.
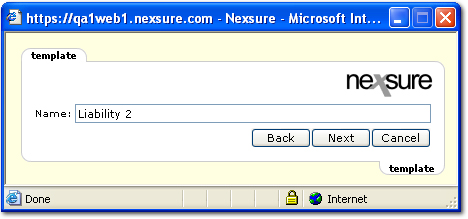
- In the Name box, enter a descriptive name for the template.
- Click Next. The template tab is displayed with the possible template sections.
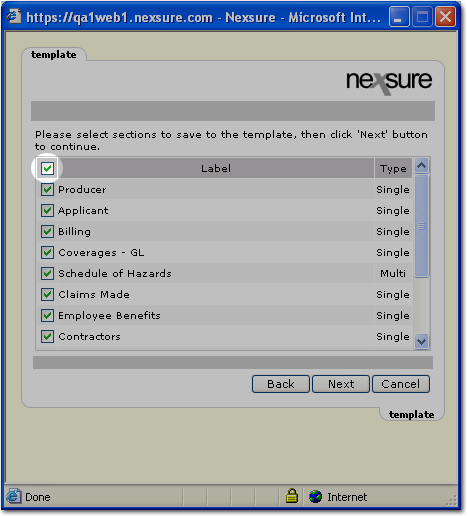
- On the template tab, select any coverage sections to add to the new template.
Tip: Select the check box at the top of the list to select all sections.
- Once all selections have been made, click Next. The template tab is again displayed.
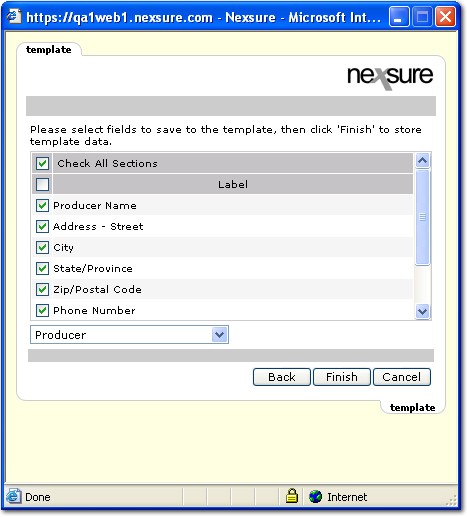
- On the template tab, select any fields to add to the new template. Each section of the application can be selected to view the fields available on that section.
- Once all fields have been selected, click Finish. A confirmation dialog box is displayed showing that the template was created successfully.
- In the confirmation dialog box, click OK. The template becomes available to populate applications.
To Export a Coverage Template
- On the Primary
menu,
click SEARCH.
- Click the Details icon next to the appropriate client.
- On the Client menu, click MARKETING.
- On the marketing tab, click the Details icon next to the appropriate marketing policy. The underwriting tab is displayed.
- On the navigation tab, navigate to any of the available forms. Notice when the form is expanded, the [Template] link becomes active.
- Once active, click [Template]. The template tab is displayed.
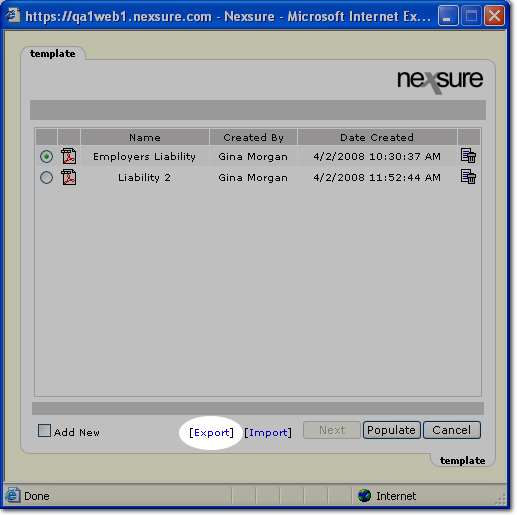
- Select the template to be exported. Notice that the [Export] link becomes active when a template is selected.
- Click [Export]. The File Download dialog box is displayed.
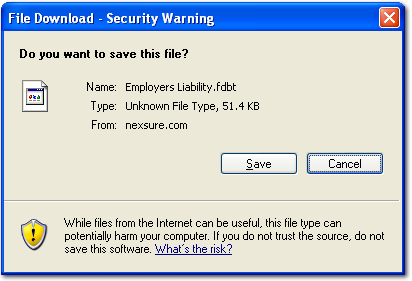
- In the File Download dialog box, click Save. The Save As dialog box is displayed.
- Navigate to the desired location for the template. In the File Name box, enter a name for the template and click Save. When the download is complete, the Download Complete dialog box is displayed.
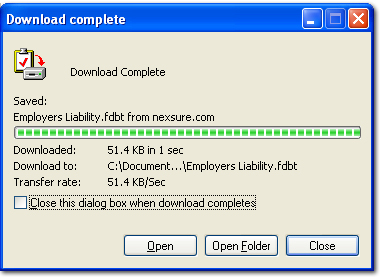
- Once the download is complete, click Close.
To Import a Coverage Template
- On the Primary
menu,
click SEARCH.
- Click the Details icon next to the appropriate client.
- On the Client menu, click MARKETING.
- On the marketing tab, click the Details icon next to the appropriate marketing policy. The underwriting tab is displayed.
- On the navigation tab, navigate to any of the available forms. Notice when a form is expanded, the [Template] link becomes active.
- Once active, click [Template]. The template tab is displayed.
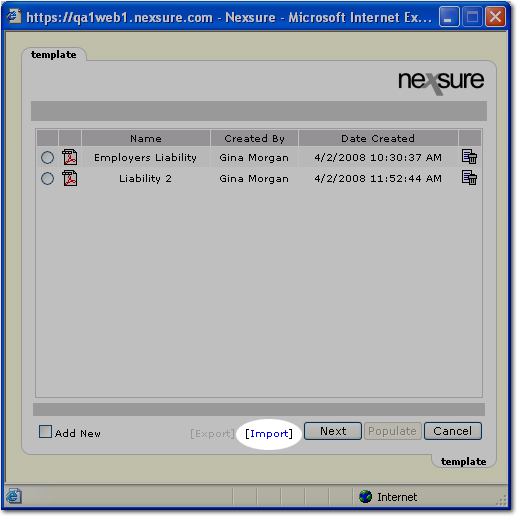
- On the template tab, click [Import]. The Template File box is displayed.
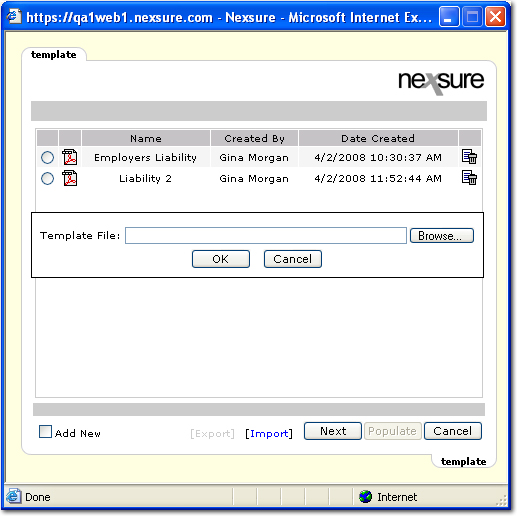
- Click Browse and navigate to the template. Once the template is located, click OK.
- Once the template is imported, a confirmation dialog box is displayed, click OK. The template is available for use within Nexsure.
To Use a Coverage Template
- On the Primary
menu,
click SEARCH.
- Click the Details icon next to the appropriate client.
- On the Client menu, click MARKETING.
- On the marketing tab, click the Details icon next to the appropriate marketing policy. The underwriting tab is displayed.
- On the navigation tab, navigate to the form to which the template will be added. Notice when the form is expanded, the [Template] link becomes active.
- Once active, click [Template]. The template tab is displayed.
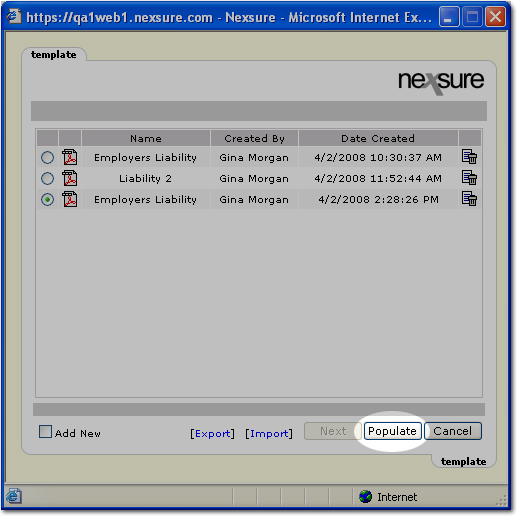
- Select the template to be used and click Populate. Once the application is populated, a confirmation message is displayed at the top of the dialog box.
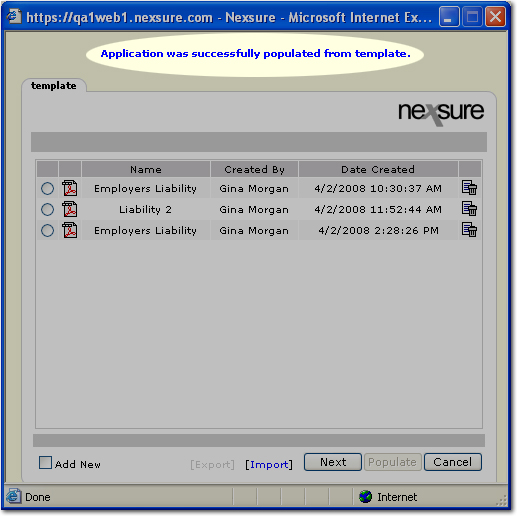
- On the template tab, click Cancel to close the dialog box. The data from the template is then added to the form selected.
Working with Forms
Adding Coverage and Premium Amounts on a Form
Marketing > Underwriting