
Once you have completed a marketing application, you can place a policy in force and / or create a binder. Binders can also be added to existing policies from the Servicing screen.

 Click here to create binder.
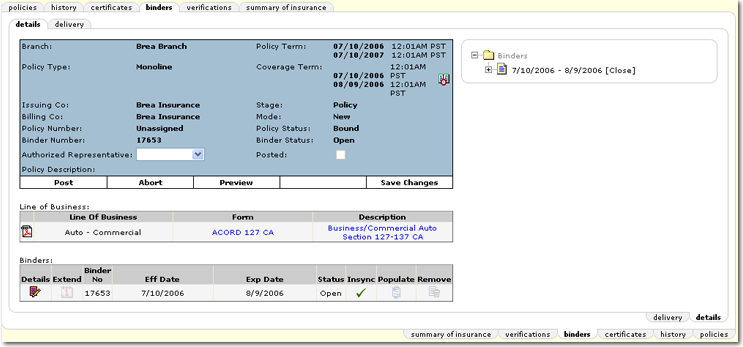
Note: The binder also appears on the right in a tree view. The [Close] link is unavailable until the binder has been posted. If a binder is closed, an [Open] link will be displayed. Click [Open] to reopen the binder.
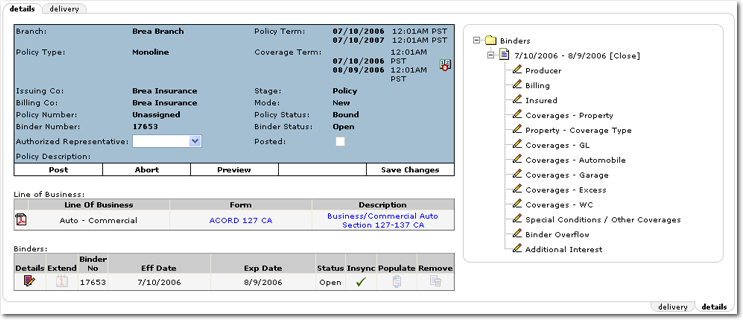
 icon to open the binder sections.
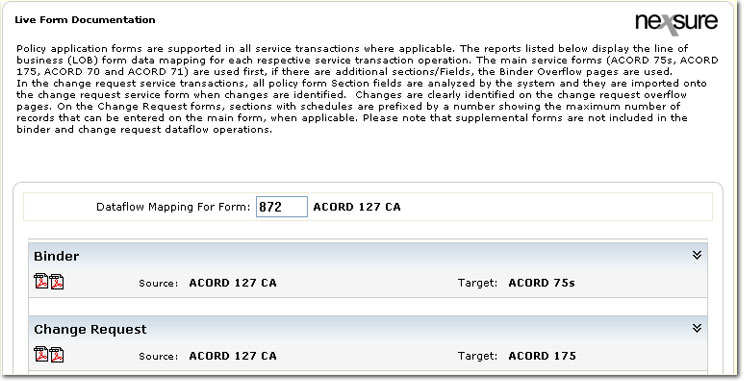
The Live Form Documentation screen gives the following options when working with binders:
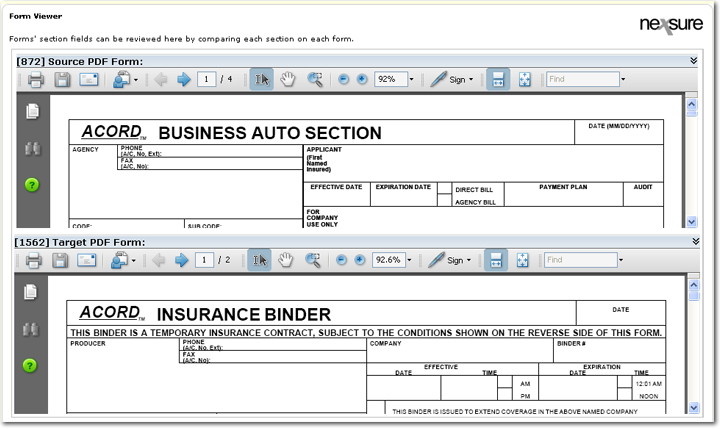
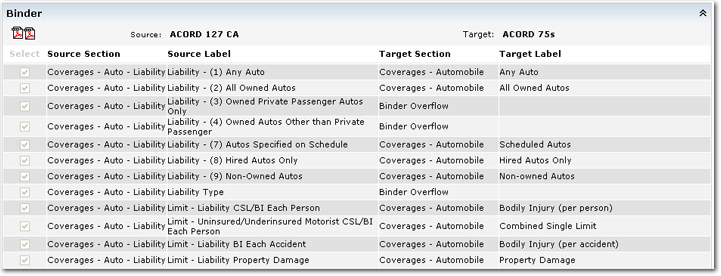
The data mapping shows what data is being pulled from the source form and where it is being sent to on the target form. When there is no space on the target form, mapped data will be sent to a Binder Overflow target section on the binder form.
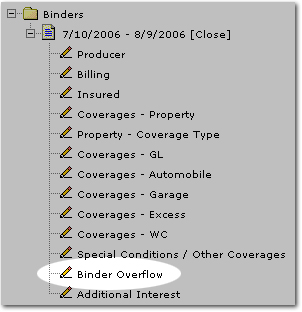
Tip: The Binder Overflow information can also be viewed and edited by accessing the section through the navigation tree.
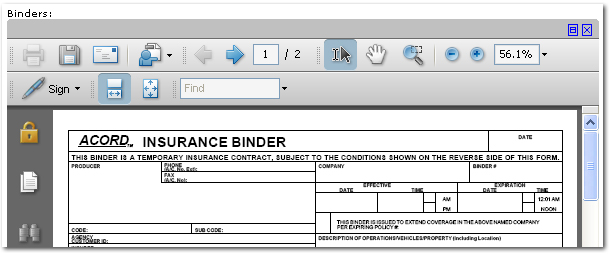
Note: The Print option is not available in the Navigation Toolbar until the binder has been posted. The binder also cannot be printed until it has been posted.
The following conditions apply once the binder has been posted:
