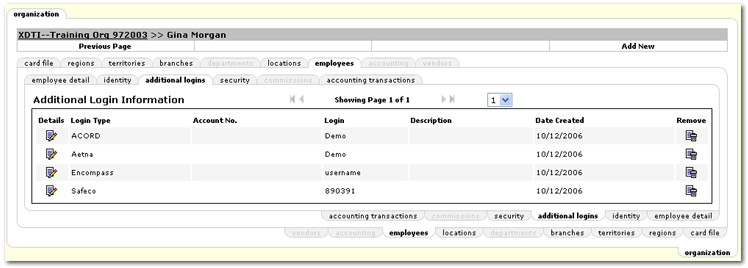
Additional logins are required to gain seamless access to systems outside of Nexsure such as rating systems or carrier Web sites.
Note: It does not matter what level the additional login information is added to.

Note: If an eServices provider is not available in the Additional Login Type list, email Nexsure Support with the request. Include the URL to the login page for that provider. Such requests will be evaluated and potentially queued for future Nexsure releases. Providers can include most any third-party secured Web site. If the login page does not contain a logo for the provider, please attach the logo to the email. Indicate whether only automated login is desired or if another real-time inquiry function is desired (billing inquiry, claims inquiry, policy inquiry, policy documents, etc.) If selected and deployed, the new eService provider will appear in the Additional Login Type list for all employees using Nexsure at all Nexsure agencies.
Or
Click Cancel to abort the additional login set up.
Note: Contact the provider selected in the Additional Login Type list if the login information is unknown.
If an additional login has been added for a carrier and the eServices window for the carrier doesn’t appear, double-check to see that the carrier’s NAIC code(s) are listed in the carrier setup record. If this is a carrier that is currently downloading, please check with the Nexsure system administrator before adding or changing NAIC codes. If Nexsure does not save the NAIC code, it is likely that NAIC code is already in use. In that case, check with the system administrator. If the carrier does not have an NAIC, match the format of the name with the name listed in the Additional Login Type menu. If that does not resolve the issue, please notify Nexsure Support.
If the Organization menu is not available to set up additional logins, the eServices dialog box also enables employees to register for a provider. To register through the eServices dialog box see Accessing eServices. Employees also have the capability to change their eServices passwords from the primary eServices dialog box.
Related Topics