An endorsement is an amendment that modifies an insurance policy usually requiring a change request form. The change request form is submitted to the carrier for approval and processing. Endorsement changes in Nexsure are made on the applicable line of business application, populated to the change request form, and submitted to the carrier or processed through a download. When endorsing policies, the coverage effective date indicates the effective date of coverages on the policy.
Tip: To check the list of policies prior to executing the endorsement, click Client menu > POLICES to display a list of policies. The policy hot link may also be selected from the client card file, which is located under the stick-e-note.
Important: If the endorsement is originated from a policy using the context tool, the effective date will default to the coverage term From date of that policy.
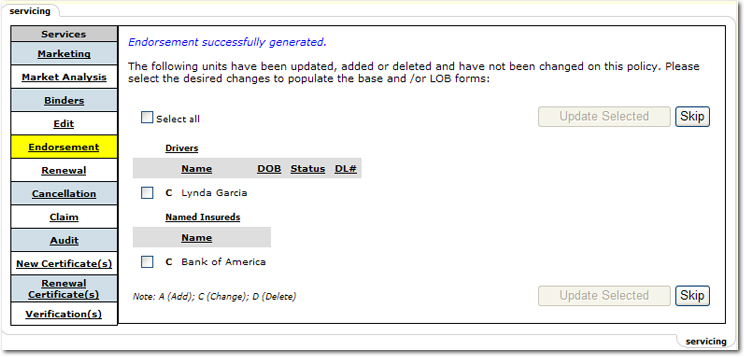
Important: If any units associated to the selected policy were updated at the client level and not propagated to the policy level, a dialog box is displayed showing the units that are out of sync. A code is displayed to indicate the type of change that was made. A = Add, C = Change, D = Delete. Select the check box next to the unit to update and the Update Selected button becomes available. The updates will be made to the selected policy. In the event the updates should not be propagated to the policy, select the Skip button.
Note: Until the units are in sync, a prompt will continue to display when servicing.
Note: If
a policy displays a Lock ![]() icon, the policy is not in a status that
can be endorsed at this time. For example a policy with a Pending status may not be serviced until the pending item is posted, aborted, or the status
of the pending item has been changed to submitted, 2nd or 3rd Request.
icon, the policy is not in a status that
can be endorsed at this time. For example a policy with a Pending status may not be serviced until the pending item is posted, aborted, or the status
of the pending item has been changed to submitted, 2nd or 3rd Request.
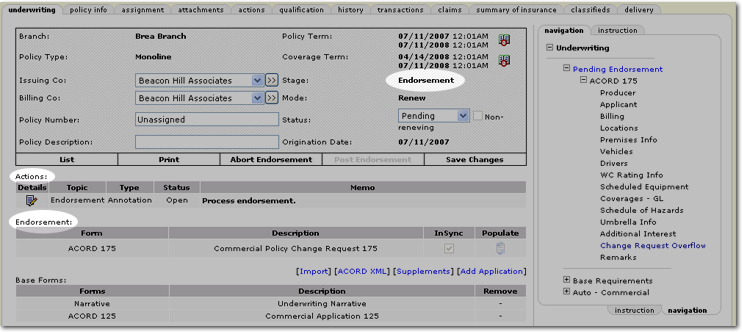
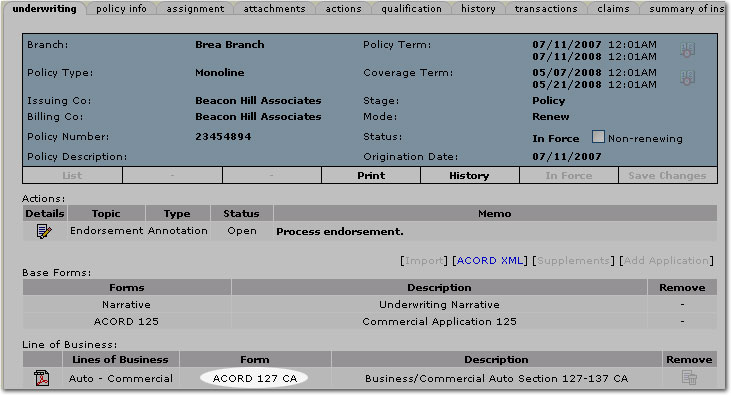
On the policy underwriting tab the endorsement status defaults to Pending. The endorsement status will also display on the policies summary screen and the HOME > ENDORSEMENTS menu until the endorsement is posted or aborted.
An action is created using the description entered for the endorsement on the servicing tab. The action is used as a notation of the event, therefore, make sure the status is Closed. The annotation status will default to what is selected in setup for endorsement annotations. The status can be left open for follow-up purposes. All endorsements should be tracked from the HOME > ENDORSEMENTS menu until the endorsement is either aborted or posted.
If additional information is needed to complete the endorsement leave the status set to Pending, make sure the action status is Open and enter the appropriate number of days to follow-up on the action.
Additional memos may be added to the associated action as needed. Keep in mind that the last memo entered is what will display on the policy summary and will remain with the policy after the endorsement is posted. Therefore it is important to make sure the final description entered is what is needed to identify the policy or endorsement from policy summary.
To Populate the Change Request
 icon to populate the change request form.
 Review the endorsement by clicking on the "+" next to the Pending Endorsement link on the navigation tab.
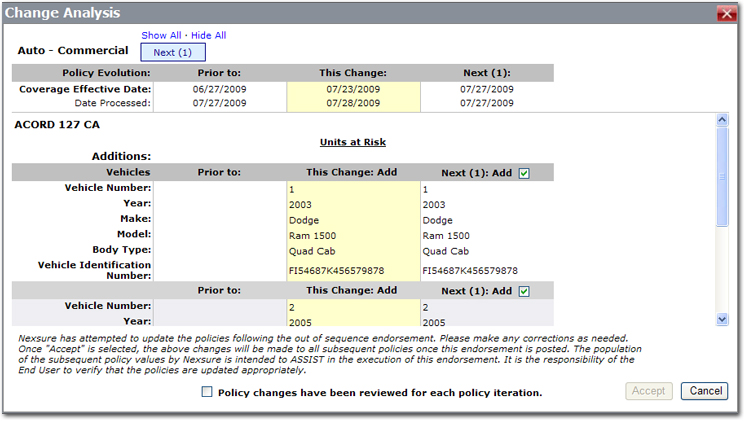
On the Change Analysis screen, information from the previous policy, the current policy and any additional policies will be displayed for review.
Note: Future renewal policies will also be displayed so that updates can be made to future policies that have changes made prior to the renewal effective date and prior to the renewal being placed in force.
Or
Click Cancel to return to the underwriting tab.
Tip: Prior to posting the endorsement, the Change Analysis screen can be accessed at any time on the navigation tab under the Pending Endorsements > ACORD XXX > Change Analysis section of the tree. The changes shown will only be editable until the endorsement is submitted. Once the endorsement is posted, the Change Analysis link will be removed from the tree.
When the endorsement is received from the carrier, the endorsement will be posted. Posting the endorsement will remove it from the HOME > ENDORSEMENTS screen since tracking is no longer necessary.
Note: An endorsement in a Pending status cannot be posted. The status in the policy header must be changed to Submitted and saved before the Post Endorsement link becomes active. Posting is also possible if the status is 2nd or 3rd request.
 icon beside the desired endorsement. The underwriting tab will be displayed.
Note: In the event there is more than one endorsement to post, the Endorsement Posting dialog box is displayed. The dialog box gives the option to post the current endorsement, all endorsements in the group or to return to the underwriting tab.
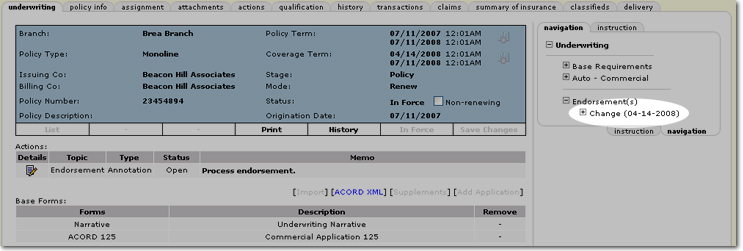
Tip: To view the dates of the changes, click the "+" next to Endorsement(s) on the navigation tab.
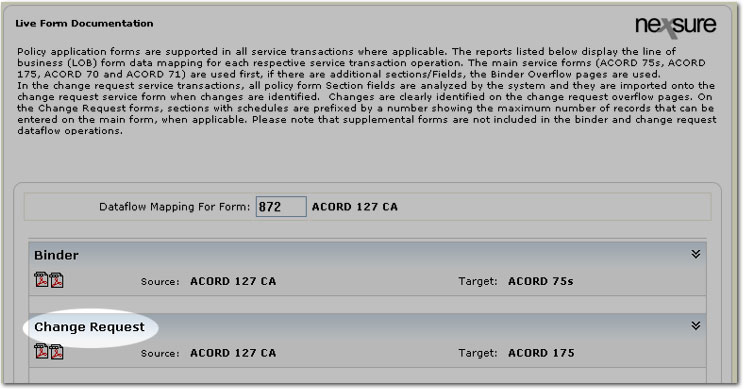
The Live Form Documentation screen gives the following options when working with endorsements:
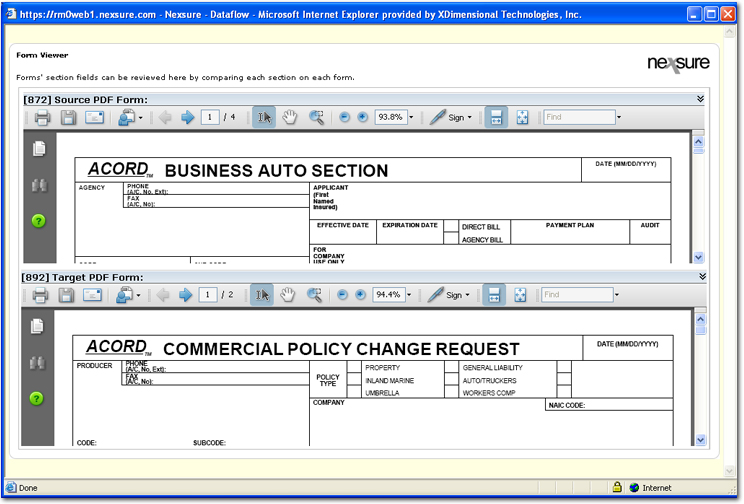
Click the Expand ![]() icon to open a view of the data mapping that occurs on the forms.
icon to open a view of the data mapping that occurs on the forms.
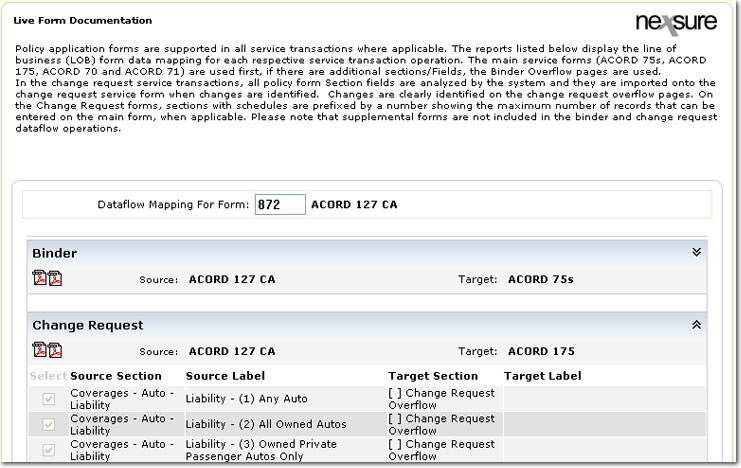
The data mapping shows what data is being pulled from the source form and where it is being sent to on the target form. When there is no space on the target form, mapped data will be sent to a Change Request Overflow target section on the change request form.
Tip: The Change Request Overflow information can also be viewed and edited by accessing the section through the navigation tree.
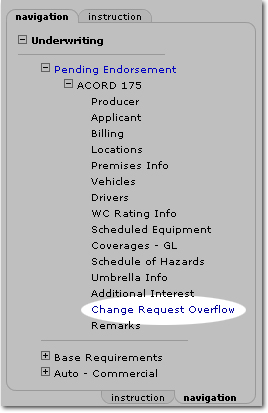
Note: The overflow section will hold any information that either does not have a place on the change request form or does not fit on the change request form. A "See Overflow" message will then be displayed on the affected section of the change request form.
An endorsement may only be aborted (removed) if the status is still Pending. Once the status has been changed and saved by clicking on the Save Changes link in the Navigation Toolbar, the endorsement may not be aborted. The status cannot be changed back to Pending.
If the status was changed from Pending and the Save Changes link was selected by mistake, the only recourse is to post the endorsement and enter a description indicating the mistake. It is recommended prior to posting, that the action memo be modified to indicate the mistake as well. The policy remains on the HOME > ENDORSEMENTS menu as a reminder that the actual endorsement has not been received from the carrier. To identify that the endorsement has been received, post the endorsement. Posting the endorsement removes it from the HOME > ENDORSEMENTS menu.