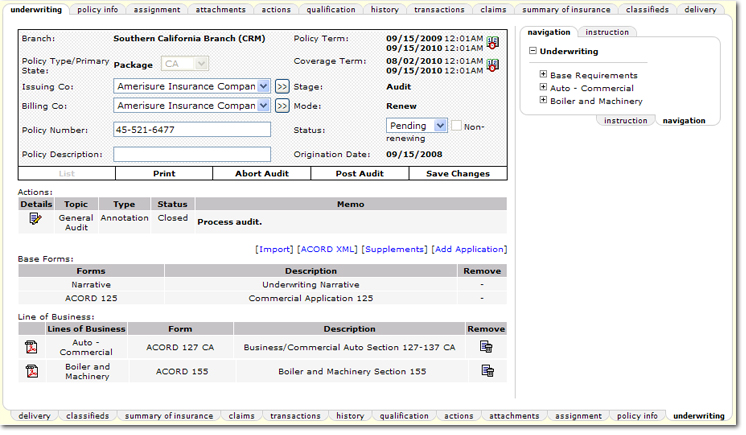
When adding audits to policies, the coverage effective date will update to the date entered on the servicing screen.
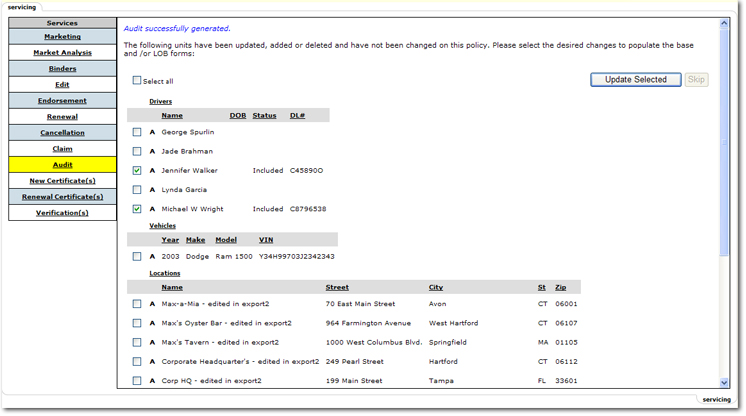
Important: If any units in this audit were updated at the client level and not propagated to the policy level, a dialog box is displayed showing the units that are out of sync. A code is displayed to indicate the type of change that was made. A = Add, C = Change, D = Delete. Select the check box next to the unit to update and the Update Selected button becomes available. The updates will be made to the selected policy. If the unit needs to remain unchanged, click the Skip button to proceed. The units skipped will be out of sync with the client level unit information.

Note: To audit multiple policies for the same client, a separate audit must be performed for each policy.

Important: If the set up on the Invoice Defaults Tab requires the production credit to equal 100%, upon posting, if production credit is not equal to 100%, a dialog box will be displayed requiring that production credit line items are corrected to equal 100%. Any income bearing line item must have a related production credit line item total of 100%.
If the set up on the Invoice Defaults Tab allows production credit greater than 100%, when posting the audit, a warning will be displayed if production credit is greater than 100% but it will be allowed. If production credit is less than 100%, a dialog box will be displayed requiring that production credit line items are corrected to equal or exceed 100%. Any income bearing line item must have a related production credit line item total equal to or greater than 100%.
Tip: You can view all existing audits from the HOME > AUDITS screen. Audits will also be displayed on the client history screen.